Eclipse: Changing the Appearance (Theme, Colors & Fonts)
This tutorial shows you how to change your Eclipse IDE's appearance - namely, setting the theme and changing individual colors and fonts.
-
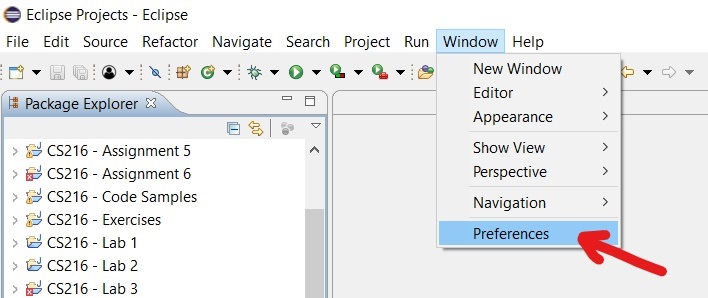
In Eclipse, choose Window menu > Preferences:
-
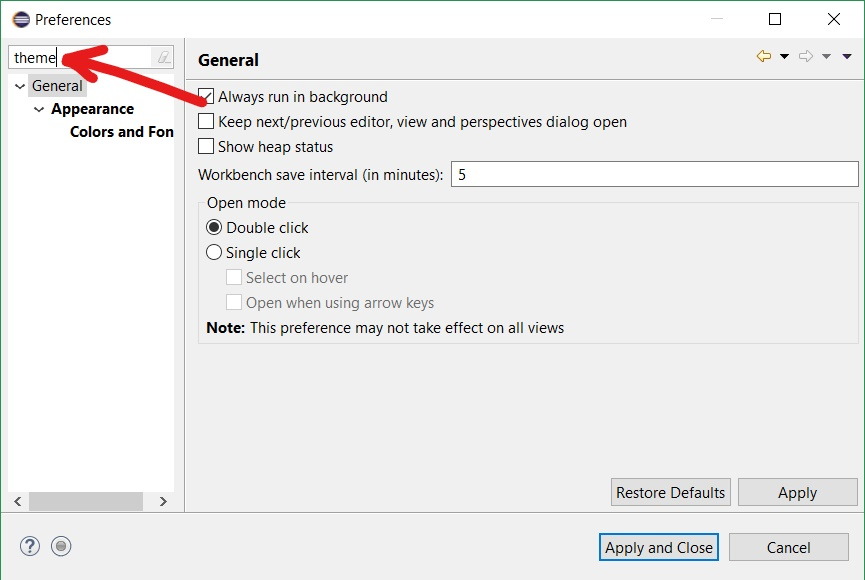
In the Filter text box, type theme. Eclipse automatically updates the categories in your Preferences window:
-
What would you like to do?
-
In the Category list, choose Appearance:

-
Hit the Theme dropdown menu and select a theme. You can preview the theme by hitting the Apply button.
-
In the Filter text box, type "syntax coloring", then choose Java > Editor> Syntax Coloring:

-
In the Element list box, expand the Java, Javadoc, or Code Comments options and select the item you want to change.
For example, to change the color of all Java keywords (except
return), expand the Java option and choose Keywords excluding 'return':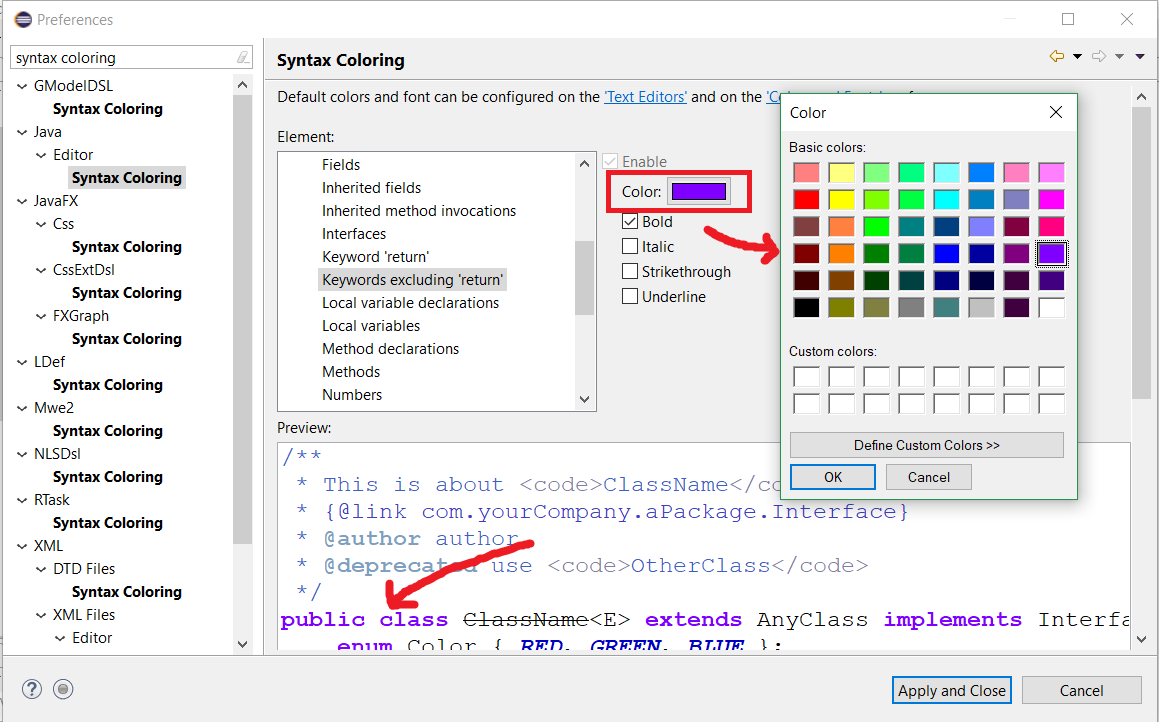
-
Hit the Color button, choose your desire color from the color picker, then hit OK.
-
To preview your font choice, hit the Apply button (hit the Restore Defaults button if you want to undo all your changes.)
-
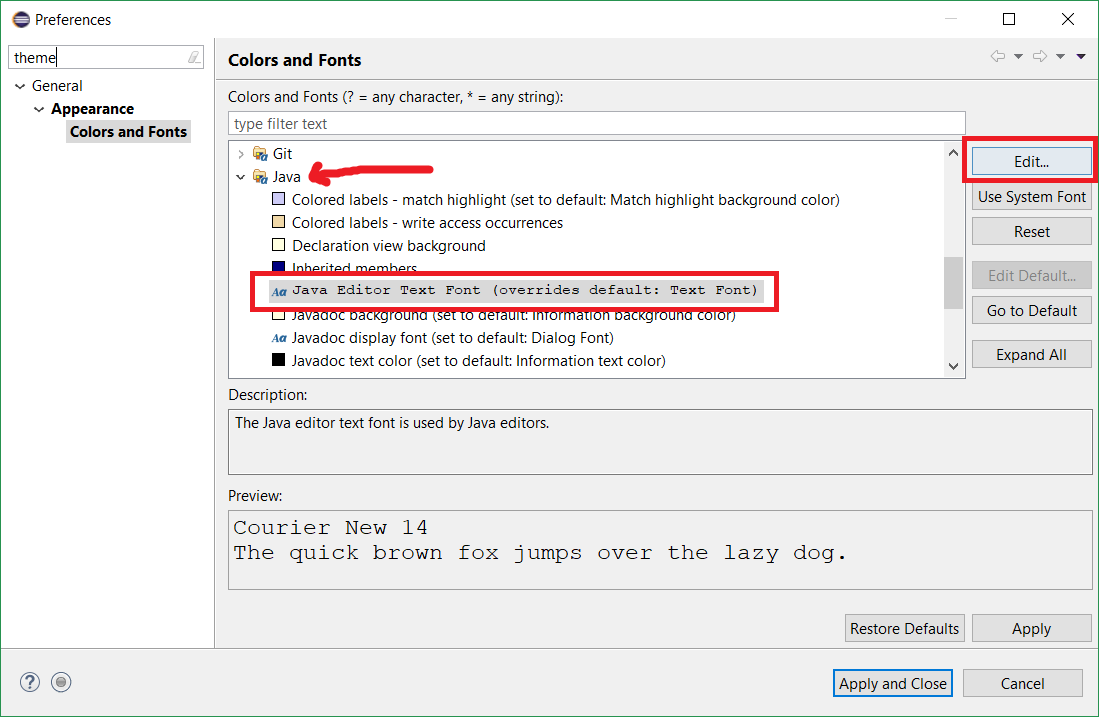
In the Category list, choose Colors and Fonts:

-
To change a default color or font, select an option in the Colors and Fonts menu, then hit the Edit button.
For example, to change the font of the code editor window, select Java > Java Text Editor Font, followed by the Edit button:
-
Choose your desired font and font size from the Font dialog box, then hit OK
-
To preview your font choice, hit the Apply button (hit the Reset button if you want to undo your changes.)
-
Hit the Apply and Close button to save your settings.