Visio 2021: Download & Install
All Thomas College students, staff, and faculty can download Visio Professional (and other Microsoft software) for free from Azure Dev Tools for Teaching.
-
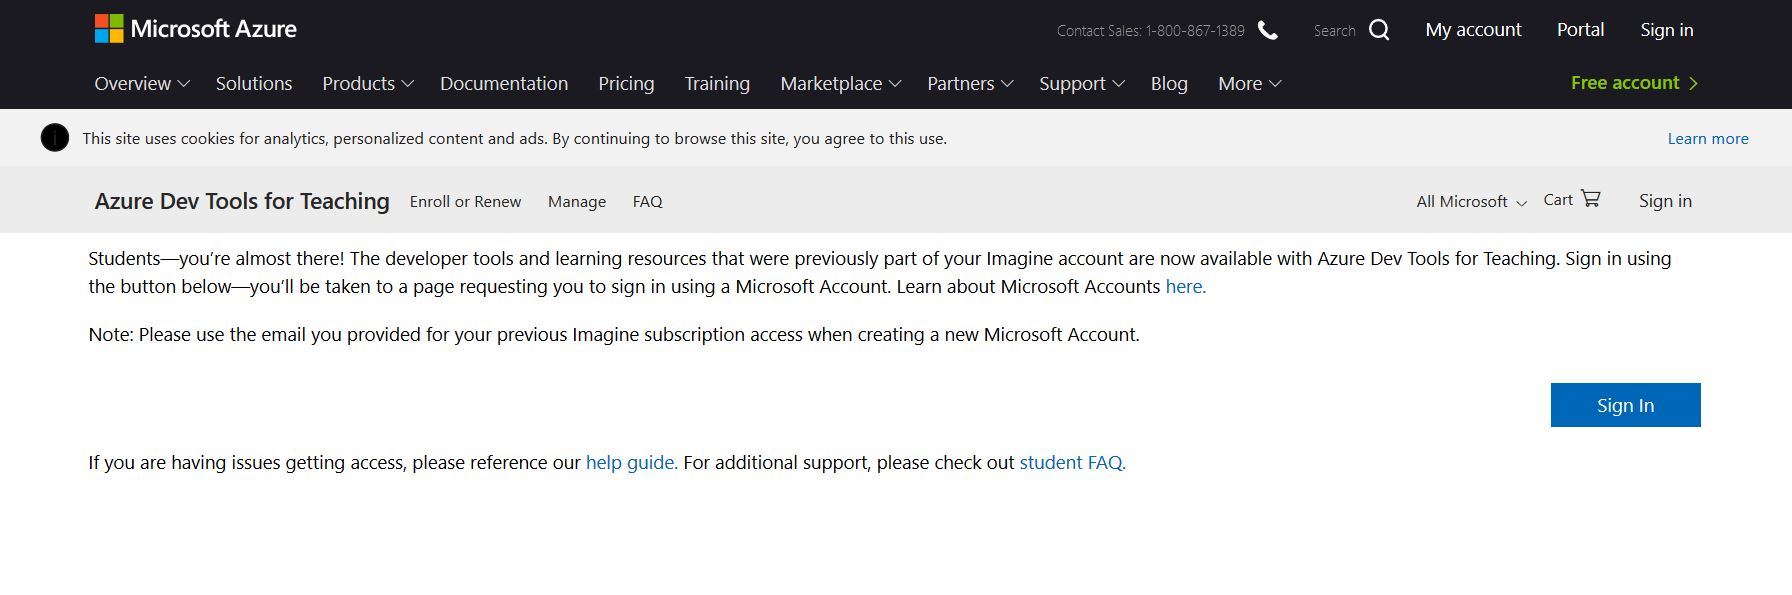
Go to the Azure Dev Tools for Teaching page.
-
Hit the blue Sign In button on the far right:
-
Sign in to Azure using your Thomas email and password.
-
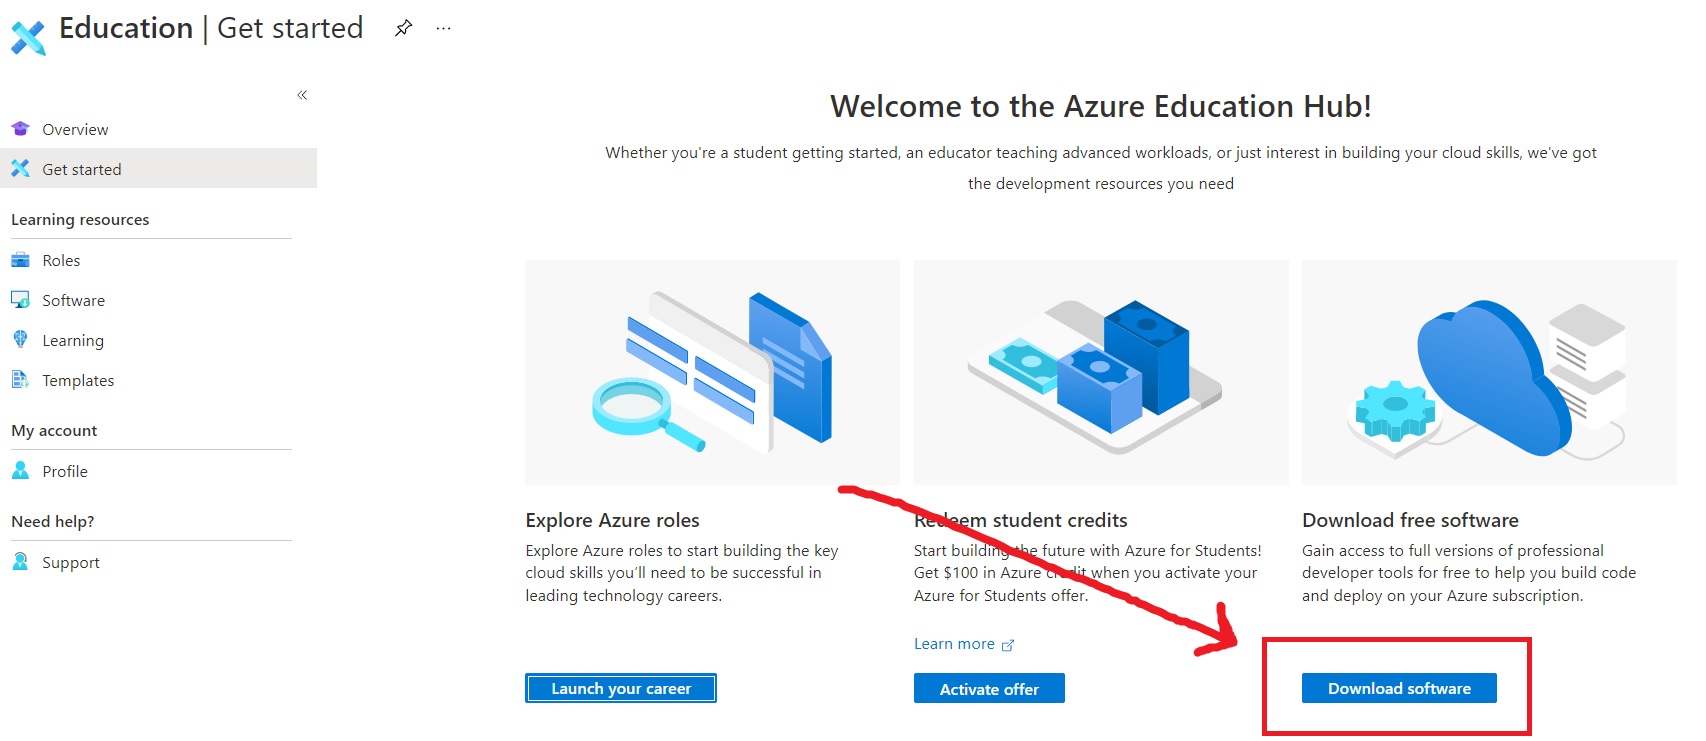
You are now logged in, and Azure's Education Hub appears. Follow the Software link in the Education Hub navigation menu:
-
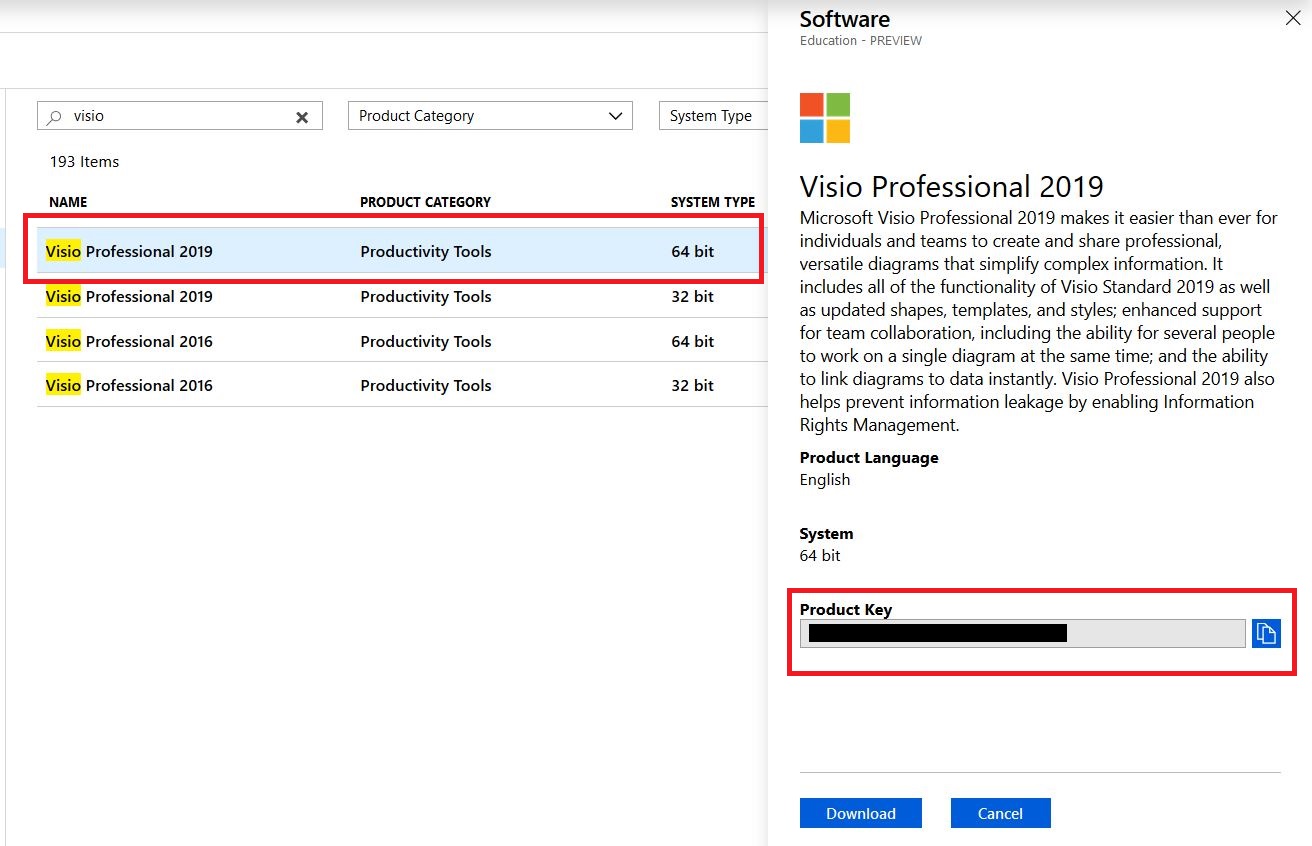
Azure displays a list of all available software. In the Search box above the software list, enter visio to display just Visio-related titles:

-
Choose Visio Professional 2021, 64-bit. The Software panel appears on the right:
-
Hit the View Key button. Copy the Product Key to a safe place! Enter this key into Visio Professional to register your copy of Visio and use the program beyond the 7-day trial period.
-
Hit the Download button to download the Visio Professional 2021 ISO file (3.3 GB).
-
- After extracting the ISO file, run the setup.exe program as Administrator to begin the installation:
NOTE: Azure may ask you to verify your student status. Follow the on-screen instructions to do so.

TIP: If the installer quits abruptly or doesn't respond, right-click on setup.exe and choose Troubleshoot Compatibility. Follow the wizard, and Windows will choose an installation mode that works best with the Visio installer.
Where to Go Next